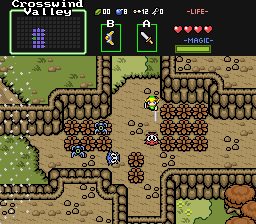
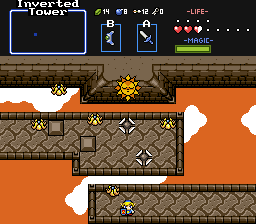
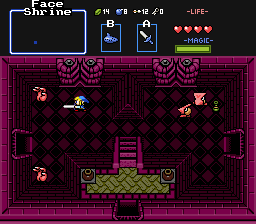
Shorter final session, but I beat the final dungeon! I'm aware that there's some postgame stuff, but I figured I would just cover the main game for this whole review to really get my impressions put out there in a much more cohesive manner.
Before the dungeon, I had done some overworld searching, and eventually found a shop that had the Lens. I'm sure the final dungeon would've taken far more without it, but I would actually like to speak on that dungeon, as I think it's actually a fairly good final dungeon, with some critques here and there.
In general, this quest goes out of its way to really tell you to be paranoid about secrets, and this final dungeon is no exception. It expects a lot, both from the player in terms of combat, as well as navigation, and if that it something you don't have the means to be prepared for, it can lead to a lot of misery. A far as critiques to that end go, there are many many secrets and enemies in this quest that require spending a resource to kill, and while this is really only abundantly an issue with bombs, it's still an issue nonetheless, and I think finding the lens before the dungeon probably saved a bunch of headache in that regard, as this dungeon has so many walk through and bombable walls, that I was actually occasionally finding myself low on bombs even just bombing the correct walls every single time.
With that aside, the continued trend of this quest's exceptional usage of the map continues to floor me. On top of the fact that the map itself is hard to find, actively complimenting just how useful it actually is, this dungeon has many 1 way shutters, and that map was an absolutely essential tool in figuring out which doors to NOT go through were, and I think that makes for actually fairly engaging dungeon navigation. I think the quest in general has had very good use of the map, and I'm glad that stayed the case until the endgame.
With that said, this dungeon definitely asks for a lot, and I do mean a lot. As mentioned before, the volume of one ways on display here is intimidating at times, and if you hadn't found them the way I had, you could definitely get into a situation where said one ways trick you fairly badly. There's actually one exceptionally bad instance of this where you get the final key of the dungeon, where you go around into a room with a secret you seemingly can't activate, but hints at the fact that you actually need to bomb from the top room. The issue is the hidden wall that's required to get there is a one way, meaning that in order to get an attempt to bomb the wall, you need to do the entire cycle of rooms over again. I think the fact that you already need to find a secret walk-through wall in order to get to the fail state side of the room in the first place, and not even giving you the luxury of going back is... pretty rude, to put it lightly. With that MASSIVE stumble aside, I think the remainder of the dungeon is actually very good, and I had a good time solving its navigational puzzles a lot.
I plan to give a proper review on the database at some point, but overall, I found what I played fairly solid, not at all what I expected, and, despite some pretty big stumbles here and there, quite fun as well. I think my reevaluated rating of it is probably a 4? It's got some pretty clear issues, but it's a good older quest with a fairly unique feel for it. If you're the type of person who likes their quests on the more punishing side, it's actually a pretty good quest to try out!