- Current Location:
- PureZC
- » PureZC Forums
- » Scripts
- » The River of Destiny Custom Maps
The River of Destiny Custom Maps
Creator:
floundermaj
Updated: 17 Apr 2015
Tags:
FFC,
Global,
Library
Downloads: 117
|
Download Package (1.17 MB) |

Updated to improve some issues. Now uses a lot less global variables.

Description Setup Reviews Comments
Includes an Example Quest and a thorough manual that includes everything you need.
Custom Map Script
Designed and Scripted by FlounderMAJ
Thank you for downloading the Script Package to implement custom map screens in your quest. This was originally designed for my first quest, The River of Destiny. Be sure to download the Demos for that quest to see the maps in action! This package includes everything required to implement the maps showcased in The River of Destiny, along with a few improvements that have been developed since the Demo release.
1. General Notes
The Script will support 16 Levels (0-15) with up to 8 Floors (DMaps) per Level. For the script to work properly, the DMap used for a floor must be offset by 0 or 8, and must not share that 8x8 half of the Map with any other DMap. The unused screens on these Maps may be used as layer screens. Hence, if a floor of a dungeon only uses one screen, that one screen must be the only one that Link can access if the map is to display properly. The other 63 screens can be used for layers elsewhere. Otherwise, explored rooms may appear on the maps that aren’t part of that level.
There is support for a 'Zeroth' floor as well. Reserve this for use in houses or cave systems or some other auxiliary areas that are not technically part of the Level, but you want to be able to view the map. On a DMap flagged this way, the map will display as normal, but Link’s location will not be displayed. Make sure that DMaps used for these types of areas use the Level number of the map you want to display, and that the DMap number is higher than the primary DMap for that Level.
The script assumes that the Overworlds are Level 0. Several things are displayed differently if the Level is 0. As with dungeons floors, 8 Overworlds are supported. Normal or BS type Overworlds may be used, but the user must specify this by modifying a constant in the header file. Link must have the Map and Compass item for Level 0 in order for the map and marks to display.
The map has issues displaying properly in Cave/Item Cellar and Passageway/3-Stair Warp rooms. Hence, the script is written so that the map cannot be used in these rooms.
Before we begin setting up your maps, please note the following requirements and reserved resources that the script uses:
Headers Required:
"std.zh"
Minimum ZQuest Version: 2.50 build 25
The script has not been tested on previous versions. It has been tested and works on 2.5 build 26 RC2. Use on older versions at your own risk.
Quest Rules Required
NES Fixes -> Subscreen Appears Above Sprites – Allows drawing on layer 7 over the Passive Subscreen
ZQuest Resources Reserved
Map button in ZC
1 Entire Map for map layers
Up to 64 Maps and 128 DMaps for Levels, not including 'Zeroth' floor areas.
Level 0-15 DMap Flags Script 1-4
All Screen Flag Misc. ->General Use 5 (Script)
All Screen D0 Registers
All Screen FFC Slots 31 and 32
At least 1 Tile sheet, at most around 100 Tile sheets, depending on the sizes of your dungeons.
A Similar number of Combos
You should also make a backup copy of your quest file and any script files you are using before you begin this, as there will be many changes to your quest file that may be difficult to undo.
2. Script Operation
Let’s begin by discussing how the script works. The Global Script uses Four Primary Functions to accomplish a functional map. They are:
· void InitializeSList ( )
· void StateList (int Level)
· void Map (int Level, int DMap, int DScreen, int MScreen, bool Map, bool Compass, bool BigKey)
· void DoorsList (int Level, int DMap, int MScreen)
Other secondary functions are called from within the Map function, and are used to retrieve information indexed by the other functions. These are:
· int DoorsLookup (int Level, int MScreen, int Floor)
· bool Visited (int floor, int screen)
· bool OpenChests (int floor, int screen)
· bool MapMarks (int floor, int screen)
· int BossFloor ( )
· int BossScreen ( )
· bool BossDead ( )
2.1 Global Script Program Flow
Upon the start of the Game, the script will check if this is the first time the game has been played. If so, InitializeSList is called. This will reset all of the data tables and ensure no erroneous data is present. After this, the script enters an infinite loop.
Each loop, the script checks for two things: a press of the map button and Link entering a room that hasn't been visited before. If the room has not been explored before, the visited state is made true and DoorsList is called. This checks your current level and floor and inspects the doors on the current screen and sets a unique identifier value in an array tied to that floor of that level that will permanently store the door configuration of that room. Three types of doors are looked for: Open, Locked, and Locked Boss. These will appear as passages between rooms. Other types will appear as walls on the map. This should be similar to the behavior of the built in Active Subscreen map. Since this is called every time a new room is entered, there will always be an accurate record of the rooms that have been explored which can be recalled when needed. As the Global script is written, this is only checked once when you first enter the room, but can be checked again by calling the function elsewhere in the script if necessary, though this may have unexpected results.
If the map button is pressed, the variables necessary to pass to the functions are calculated and StateList is called. This will check every DMap for the passed Level, and will index up to 8 DMaps with that level number, one for each possible floor. Then every screen of the 8 indexed DMaps is checked for the following: if the screen has been visited, if a chest is present on the screen and if it has been opened, and if the screen has been marked. The values for each screen are saved. Finally, the Boss’s floor, screen, and death status are indexed. The final result is a complete table of information of every floor of the passed Level, which can then be recalled to accurately build a picture of all the known information about the Level. StateList must always be called before Map in order for it to be displayed properly.
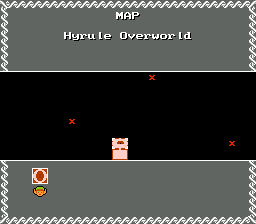
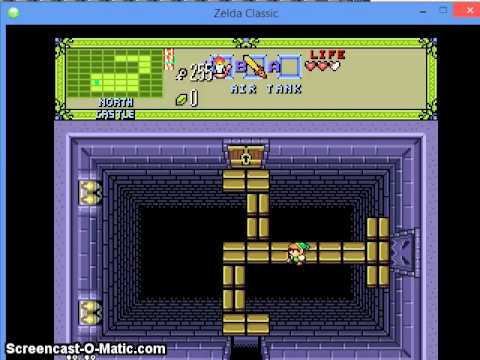
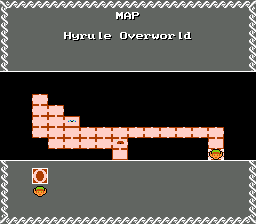
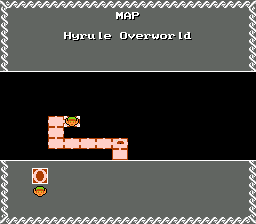
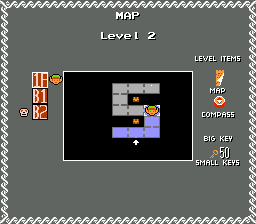
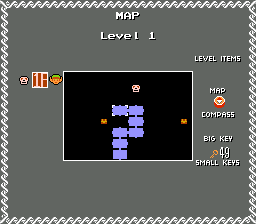
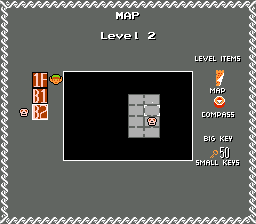
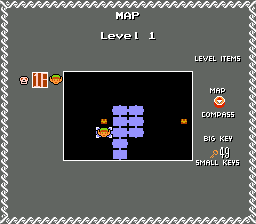
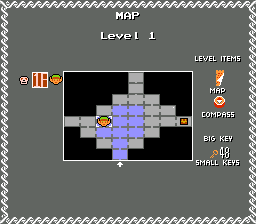
After this, Map is called. This actually displays the map. The screen is frozen while a white layer is flashed on layer 7 as a transition, and a sound is played. Then an infinite loop is entered within the function. When the map button is pressed again, the white layer is flashed again and the screen is unfrozen, and the function returns. If the map button is not pressed, the map is drawn on layer 7. Also drawn are an index of floors and a marker indicating the viewed floor. Link’s and the Boss’s positions are shown blinking on the map, and Link’s current floor and the Boss’s floor are indicated. Treasure chests and blinking map marks are shown if the compass is owned. If the Level is an Overworld, unexplored screens are covered; otherwise the explored rooms are shown. If the dungeon map is owned, all rooms are shown with explored rooms highlighted. The Level title and Level items are shown, as well as the number of Level specific keys owned.
After the function returns, the script waits 60 frames before resuming the loop, which then repeats.
2.2 FFC Scripts
Also included in the package are two FFC scripts. These are used when setting or unsetting map marks, usually on the Overworld, though they can appear in dungeons as well. They are:
SetMarks
This is placed on a screen where the marks are set up. The Script uses the D0 screen register of the screen where the mark will be set. Up to 6 marks can be set at one time.
Script Variables:
D0: The DMap where the screens to be marked reside.
D1-D6: The screens to be marked. If unused, set to -1.
D7: This is the iteration of this script. If more than 6 marks are needed, or more marks are to be set later, increment this. This prevents an iteration of this script from running more than once. Must be at least 1.
UnsetMarks
Place this on a screen where you want a single mark to be unset, such as the screen you warp to after finishing a dungeon. Marks can be unset by obtaining a certain item, like a sword, or by obtaining a specific Level Item, such as a Triforce Fragment. This script also increments the iteration counter mentioned above.
Script Variables:
D0: The item that unsets the mark. If unused, set to -1.
D1: The DMap of the marked screen.
D2: The screen to be unmarked.
D3: The Level for which a Level Item must be obtained to unset the mark. If unused, set to -1.
D4: The Level Item that must be obtained. See the LI_ constants in "std.zh" for values to use. If unused, leave 0.
See the Quest example for more information.
3. ZQuest Setup
This section will cover the setup of the maps in ZQuest.
3.1 Tiles and Combos
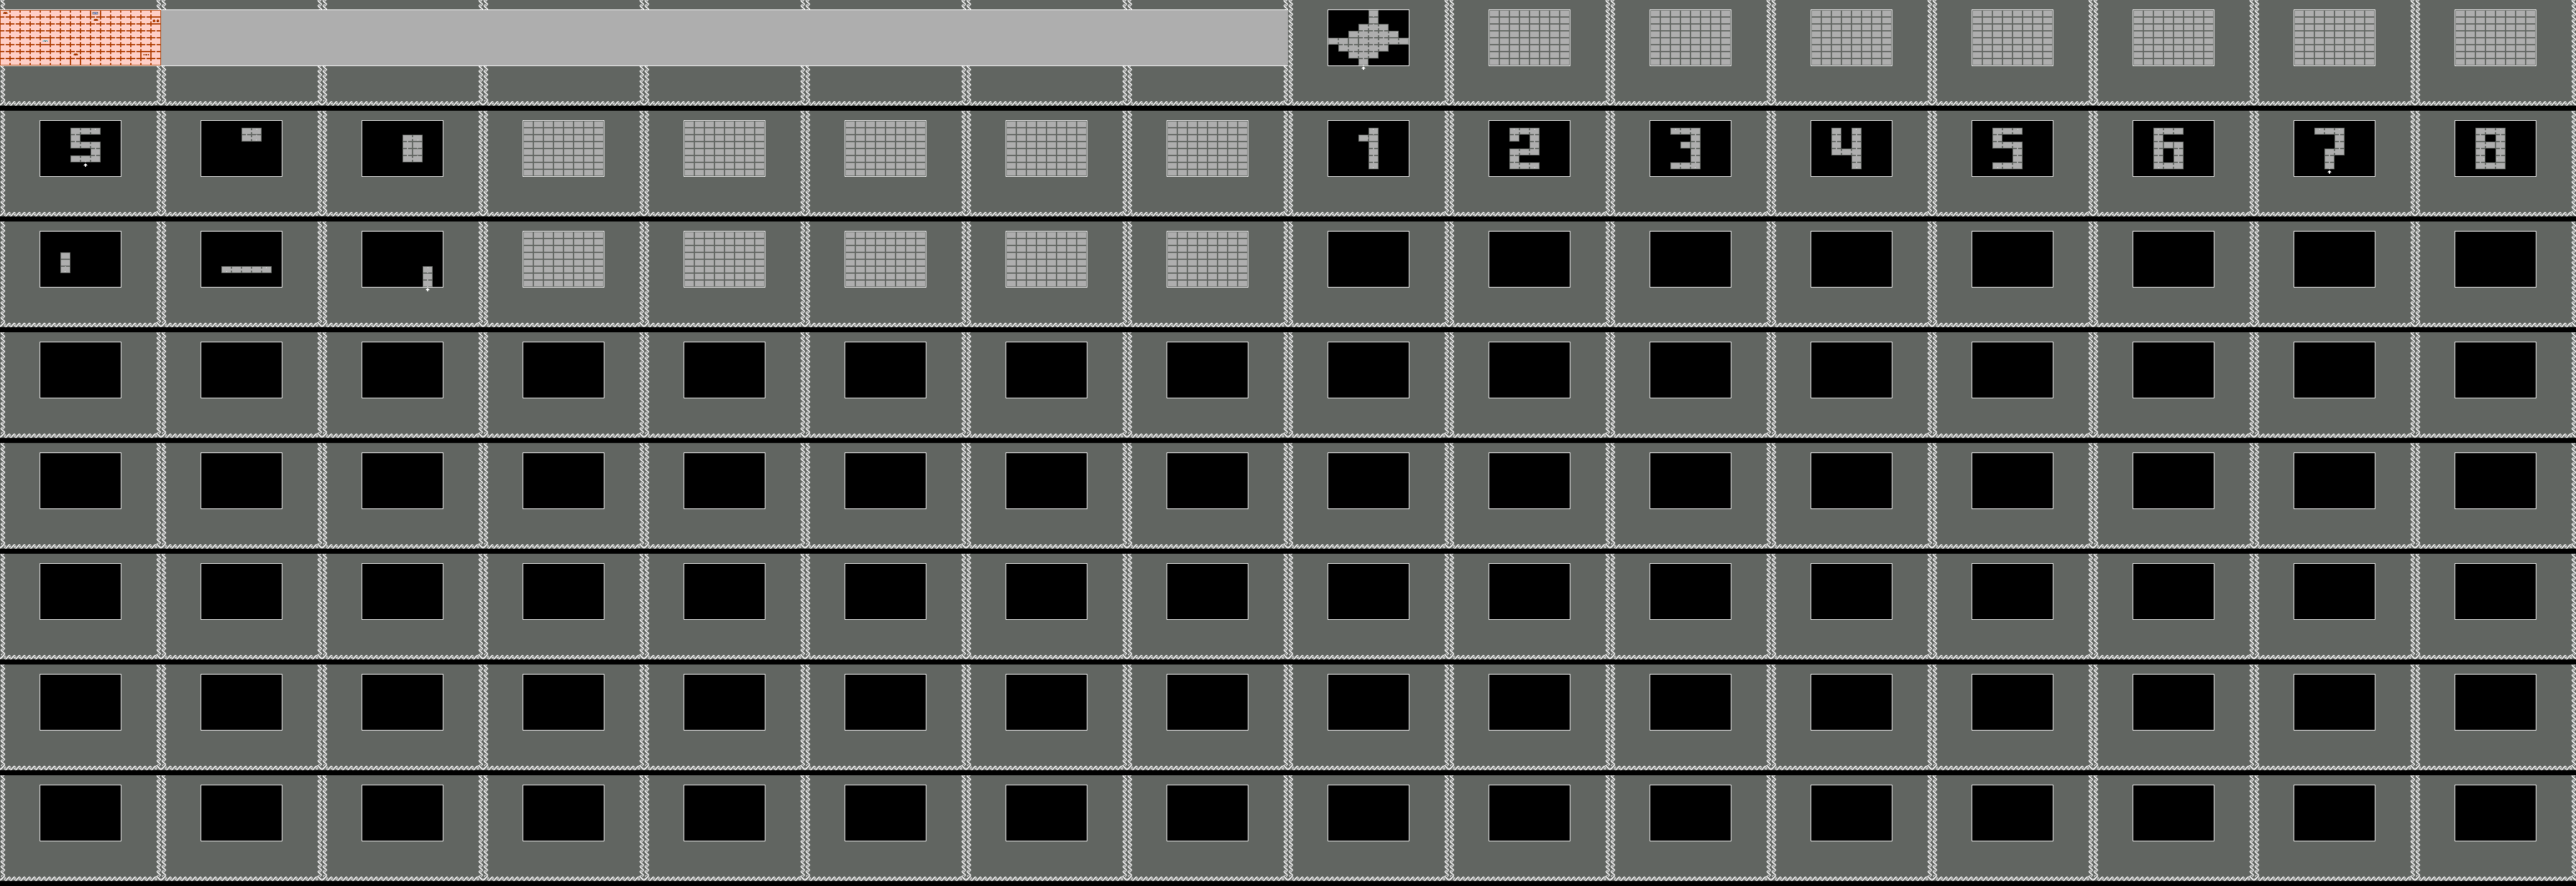
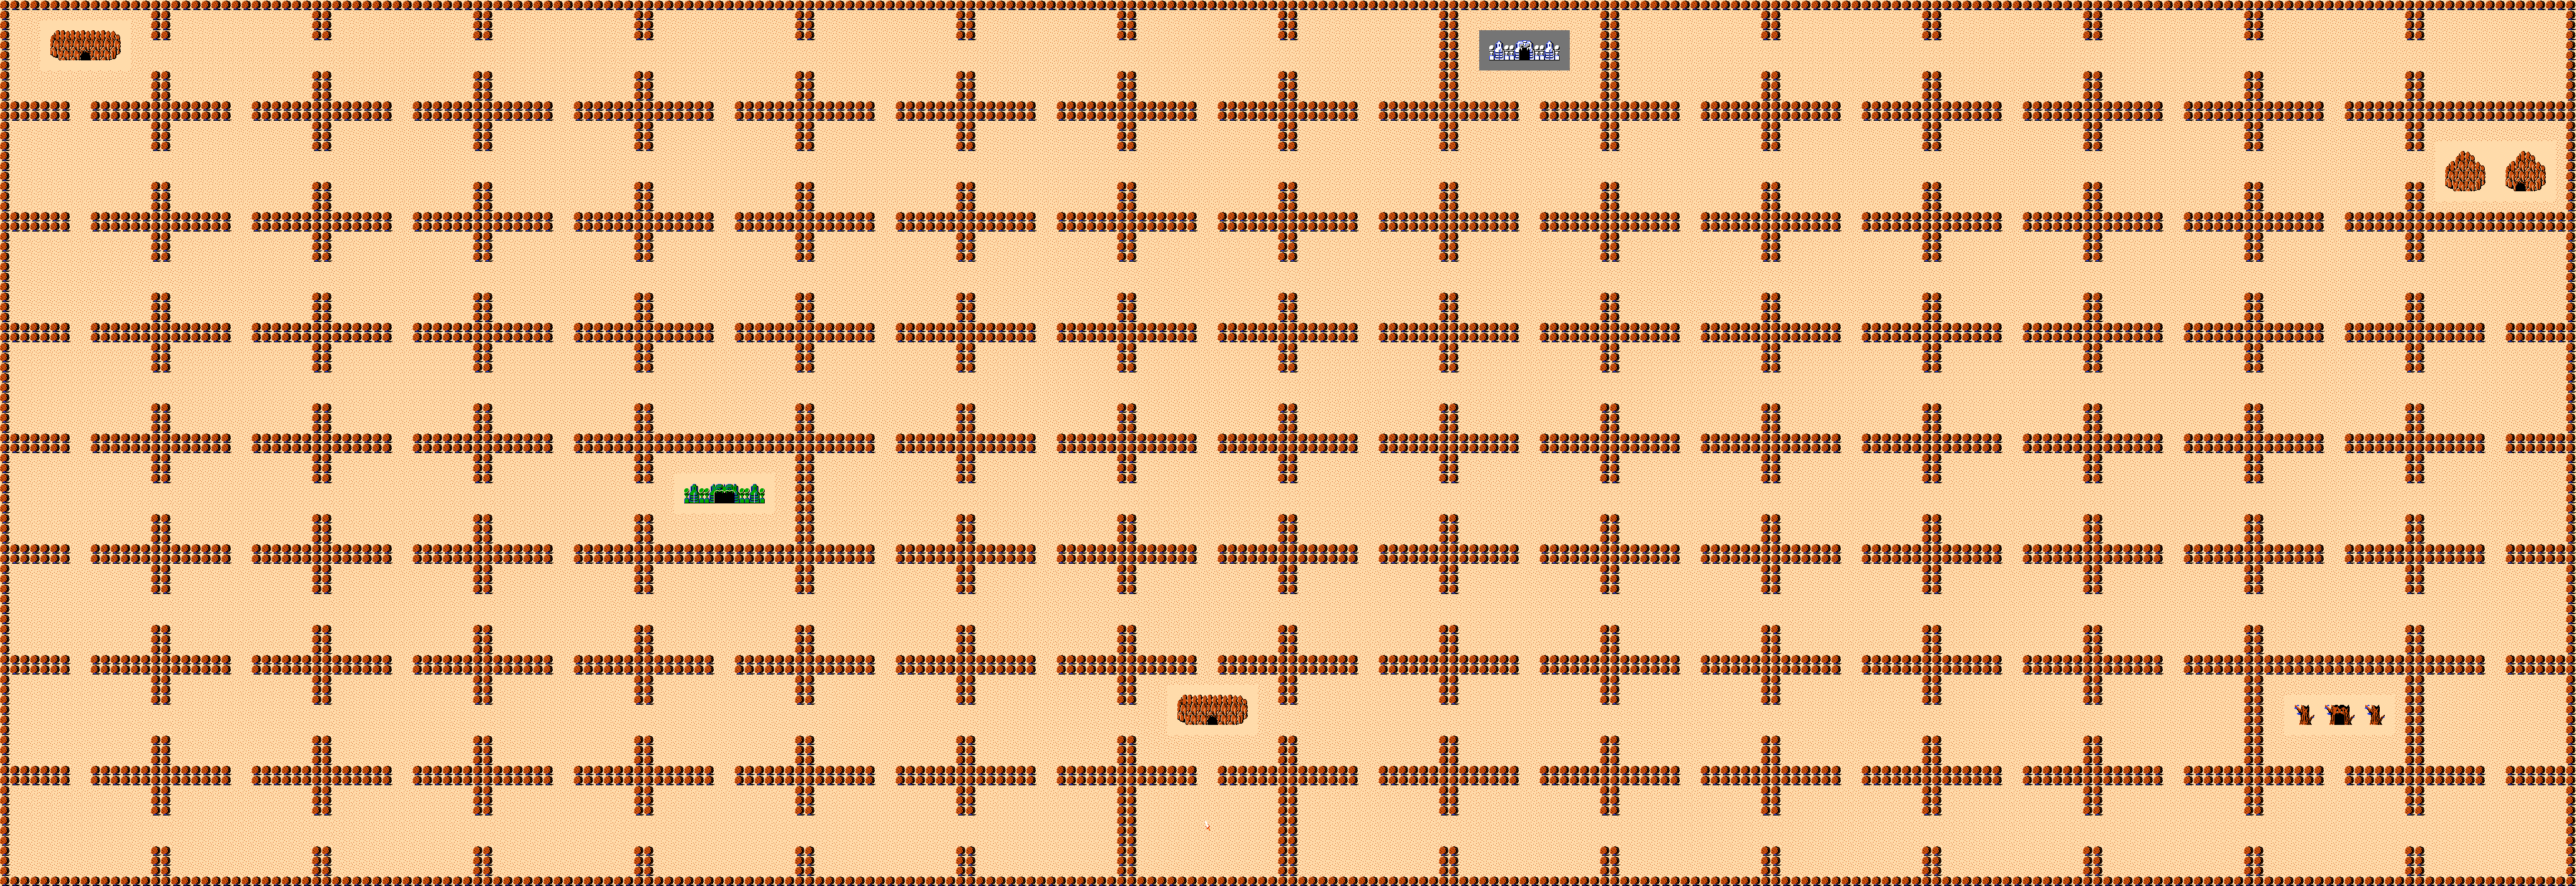
For each BS Overworld and Dungeon map you need, reserve an 8x6 tile block for each floor. For a normal Overworld, use 16x6 tiles. Using this tile block, draw your map within the tiles, using a ratio of one pixel to one screen combo. It is recommended to use 8-bit color tiles for all tiles you create; however be sure the colors you choose are palette independent. Each room on the map will be 16 pixels wide and 11 pixels high. Thus an 8x8 dungeon map will be 128 pixels wide and 88 Pixels high. This means that the bottom 8 pixel rows of the bottom row of tiles will be blank.
Create whatever details you like in the map, especially in the Overworld map. In addition, you may create a map frame or other embellishments to make the map screen unique. Perhaps create a screen with a design that matches your custom subscreen. The Demos for The River of Destiny have a good example of this. Whatever you decide to so, make sure that the rooms on the map are 16x11 pixels and that the rooms are located precisely within the tile block. In addition, make a full white tile. Make combos of all the map tiles, any frames, and the white tile. Finally, create three blank combos, one of type "None", one of type "Screen Freeze (Except FFCs)" and one of type "Screen Freeze FFCs Only." Make a note of the combo numbers. These will be used for screen freezing FFCs.
Next, reserve a Tile Page for Map symbols. See Tile Page 135 of the included quest example for correct tile layout. Starting at the top left tile of this page, reserve a 16x8 tile block of tiles for level floor markers. (1F, 2F, B1, B2 etc.) Each of the 16 columns in this tile block will have the markers for one level, starting with Level 0 on the far left. Label the floors of each level as you wish, starting with the top tile in each column, and leave unused tiles blank. In the row immediately below this tile block, arrange floor markers for a normal Overworld horizontally.
Next make a set of 17 tiles that will represent explored dungeon rooms. The default room should be 14x9 pixels, one pixel from the top and one pixel from the left of the tile edge. The passageways between rooms should be drawn on these tiles in the one pixel wide border around this default tile. Passageways on the sides of the room should be 3 pixels high and centered on the wall. Passageways on the top and bottom of the room should be 2 pixels wide and centered on the wall. Create one tile for each of the 16 possible passageway configurations.
They should be arranged in the tile row thusly:
1) No passages
2) Bottom only
3) Left only
4) Bottom and Left
5) Top only
6) Top and Bottom
7) Top and Left
8 ) Top, Bottom, and Left
9) Right only
10) Bottom and Right
11) Left and Right
12) Left, Right, and Bottom
13) Top and Right
14) Top, Bottom, and Right
15) Top, Left, and Right
16) Top, Bottom, Left, and Right
The 17th tile in this row should be 16x11 pixels in a color that will contrast well with the map when transparent. As written, when the map is obtained, the map is drawn under the explored room tiles, and the explored room tile expands to cover the whole map room and turns transparent so the detail on the map beneath is visible. In order to use this feature, proper colors must be chosen. See the example quest to see this in action.
This behavior can be overridden so that the explored room tiles with the passageways are always shown. This might be desirable if your maps have a low level of detail. To do this, open the script file “MapHeader.zh” and scroll down to find the Map function code. Find this line of code: if(Map) {trans=OP_TRANS; DoorsAdjust=16;} and comment it. Then remove the comment notation from the next line.
Next create a tile that can be laid over the floor markers in order to indicate what floor of the map is being viewed. Also create two Link markers and two Boss markers, one to overlay on the map and one to indicate which floor each is on. Create a mark and a treasure chest symbol that will be shown on the map. Finally, draw a reticle that will put a box or marker around the room of the map that Link is exploring. You will also need a black tile that will cover the unexplored screens of the Overworld maps. This should have the top 16x11 pixels black, the bottom 16x5 pixels transparent. For more information about how to set these tiles up, see the example quest and the Constants section of “MapHeader.zh.” Take note of the tile numbers and CSets and configure the constants to match. Also pay special attention to how the blinking tiles are arranged, ensuring that the needed blank tiles are as described in the comments.
You will also need to note the tile numbers and CSets for the dungeon item tiles and enter them into the script constants. The needed items are: Dungeon Map, Compass, Big Key, and a small key minitile. The minitile should be in the top left quadrant of the tile.
3.2 Layer Map
Choose an empty Map that can be reserved for your custom maps. This is divided into 16 parts, one for each level. Starting at the top left screen of the Map, count off 8 screens horizontally. These are reserved for Level 0 maps, one floor on each screen. Count off the next 8 screens. These are reserved for Level 1 maps. On the next row of screens, start on the left with Level 2 maps and continue. The final result will be 16 8x1 screen blocks. Make sure you index your maps properly on this Map; otherwise the script will display an incorrect map. Note the Map number in ZQuest and enter this in the “LayerMap” constant in the header file.
Start placing your combos on the screens. The top left corner of an 8x8 map should be 1 combo from the top and 4 combos from the left edge of the screen. The top left corner of a normal 16x8 Overworld should be 1 combo from the top and on the left edge of the screen.
Use the white combo you made before to completely fill screen 0x81 of this Map. This will be used to briefly draw a white screen when opening and closing the map. Draw the lower part any frame you made in screen 0x82, and use screen 0x80 to draw the top 3 ½ combo rows of the frame. This will be drawn over the Passive Subscreen when the map is displayed. See the Quest example for how this is done. Screens 0x83-0x87 of this Map are not used by the script.
3.3 DMap Setup
Much of the DMap setup is unchanged when setting up the maps. There are a few key things that must be done, however. First of all, ensure that all the DMaps assigned to a particular level have the same Level number from 0-15. You can have more than one DMap for a floor (for palette changes, for example), but the primary DMap for that floor needs to be the lowest numbered DMap. If Level 0 is going to be a BS Overworld make sure you set the constant “BSOW” to 1 in the header file. If using a normal Overworld, leave this constant set to 0.
If this is a dungeon DMap and this particular floor of the dungeon will contain the boss, enter the boss screen coordinates in the Compass field of the Mechanics tab. It is important that you also make sure the flag “Don’t Display Compass Marker in Minimap” is unchecked on a DMap that contains a boss. For every other DMap corresponding to that Level, on all other floors, this flag must be checked. If this isn’t done right, you will have more than one boss marker on your map!
The most important part of the DMap setup is flagging the DMap as a specific floor of the level. This is accomplished by using the Script 1-4 DMap flags. The Script 5 flag is unused by the script. The table below shows how to configure the flags to denote each floor.
Flag..................Script 1......................Script 2...................Script 3......................Script 4.......
First Floor.............X................................................................................................................
Second Floor.........................................X...............................................................................
Third Floor............................................................................X................................................
Fourth Floor.............................................................................................................X.............
Fifth Floor.............X...............................X................................................................................
Sixth Floor.............X..............................................................X................................................
Seventh Floor........X.................................................................................................X.............
Eighth Floor...........X..............................X.............................X.................................................
Zeroth Floor.............................................................................................................................
If the map is called for while on a DMap that is denoted a “Zeroth Floor” and the Level is from 0-15, the Map is displayed as normal, but Link’s position is not shown. This is useful for houses and caves on the Overworld or side-scroll passages in Dungeons. As mentioned before, DMaps containing these types of areas must have a higher DMap number than the primary DMap for the level.
An important point to make about the floor designations is that the DMap that is flagged as the First Floor will appear as the top floor of the dungeon. Conversely, the DMap designated the Eighth Floor will appear at the bottom. Keep this in mind when arranging your map combos on the Layer Map as described in Section 3.2 as well. When preparing your tiles for floor markers, you can label the floors anything you like, but make sure the floor flags are set properly.
For example, in a tower type dungeon, Link might enter the tower on F1, and go down to B1. Then he climbs the tower to F7 to find the boss. In this situation F7 would be flagged as the First Floor, and B1 would be flagged as the Eighth Floor, with the other floors in between. The map for F7 would be on the leftmost screen of the block reserved for that level on the Layer Map, and the map for B1 would be on the rightmost, with the other floors in between. It’ll make more sense once you start using it, and don’t forget to look at the Quest example for help.
Finally, and this is very important, the DMap flag “View Overworld Map By Pressing ‘Map’” must not be used on any of the DMaps that you want custom maps to work. This frees up the Map button to be used by the script.
3.4 Screen Setup
There isn’t much to consider for screen setup. The most important thing is treasure chests in dungeons. On any screen that contains a treasure chest set the flag General Use 5 under Misc. on the S.Flags 2 of the Screen Data. The script will check for this flag and place a treasure chest mark on this room of the map. When the Treasure Chest Open screen state is set, the mark will disappear. Treasure chests will only appear when the Compass is owned.
You can also use the two included FFC scripts to set and unset marks on any screen in the game world. Set SetMarks to a blank tile and place it on a screen with an NPC or some other story device that will “mark” Link’s Map. The script sets the D0 register on each chosen screen to 1. When the map is called, all the D0 registers of a DMap are scanned and a blinking mark is placed on screens where the register equals 1.
This script also has a feature that allows sequential iterations of the script to be run. You might have one set of marks set on one screen and a different set of marks made later in the quest. For example, at the beginning of the quest, an NPC might mark 4 dungeons for Link to explore. After those 4 dungeons, another area of the Overworld may become available where a new set of marks is made for 4 more dungeons. Then perhaps in one of those dungeons, an NPC might mark suspicious areas of the dungeon for Link to investigate. Each iteration of the script will only run once, and has a unique number set by the D7 variable of the FFC script. The iteration counter is a global variable that is not changed by the script except to increment it each time an iteration of SetMarks or UnsetMarks runs. An iteration of SetMarks will not run until all previous iterations are run, even if Link enters the screen many times.
Set UnsetMarks to a blank tile and place it on the first screen you enter after picking up the item or Level Item that you want to unset a mark. The script checks for the item or Level Item and resets the D0 register for the chosen screen to 0, and the mark disappears. This script would most often be set on the screen that Link side warps to after picking up the Triforce in a dungeon. This script also increments the iteration counter mentioned previously, so that you can make sure that new map marks are not inadvertently made until all previous marks are cleared, if you so desire. UnsetMarks does not require a specific value of the iteration counter in order to run, only the specified item. It’s up to you to figure out in what order you want marks made on the map, when they are removed, and when new marks are made. This makes it possible to have a very dynamic map.
3.5 Script Import
Before importing the script into ZQuest, open the header file and configure the constants at the top, and the user variables in the Map function. The comments in the file explain the purpose of each variable and constant and how to configure them. Pay special attention to the “Max” array. This array contains the maximum number of floors for each level. Each entry must be at least 1.
In addition to configuring these variables and constants, you may also comment out or delete some doors arrays for floors you aren’t using. This can save a lot of memory if you run short. Just be sure to comment out or delete the corresponding lines in the functions DoorsList, DoorsLookup, and InitializeSList. If you don’t do this, the script uses 157 out of 256 available global variables, which could limit other scripts or headers you may want to use.
Once these tasks are complete, import the file “MapImport.z” into the ZQuest buffer. Add any other code you need to the Global script and compile and assign the scripts to slots. If all of the steps outlined in this manual have been followed, the map setup should now be complete. Load the quest in Zelda Classic and try it out.
4. Support
First I would like to thank all those over at Armageddon Games who work so hard to program and support Zelda Classic and ZQuest. In particular, I’m grateful to have such a versatile scripting language that allows for scripts such as this one. The systems they have set up work together wonderfully and I could never have made this script without their prior work.
If you have any issues setting up the map scripts or need further clarification on something, I can be contacted through the Armageddon Games Forum or the PureZC Forum. That being said please do not contact me for general scripting support. In addition, thoroughly study the example quest included with the script package.
Finally, please check out my quest project: The Legend of Zelda: The River of Destiny! Demos are available which feature this map script in action. Once again, thank you for downloading and happy questing!


Noire